Getting started
Quickstart
Write, approve and publish your first post with NegiFlow in about ten minutes.
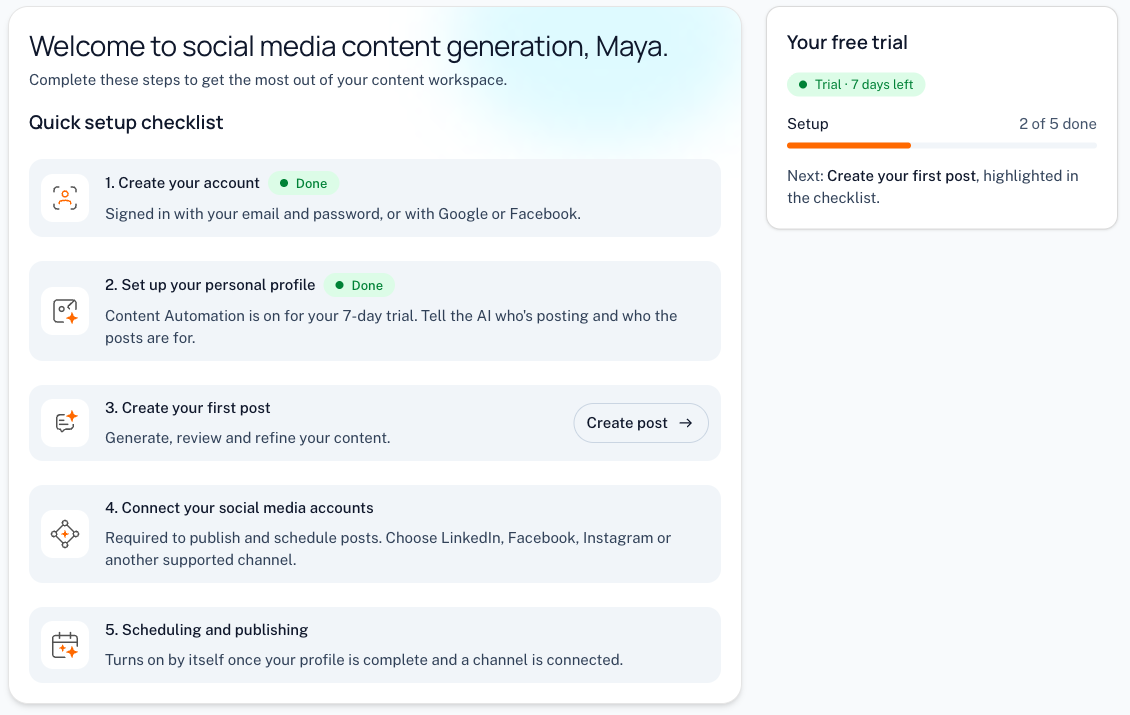
This guide takes you from a new account to your first published post. It takes about ten minutes. The setup checklist on your home page walks you through the same steps.
Before you start
You need a NegiFlow account. If you don't have one yet, see Create your account.
You're on the Free plan as soon as you sign up, with no payment details needed.
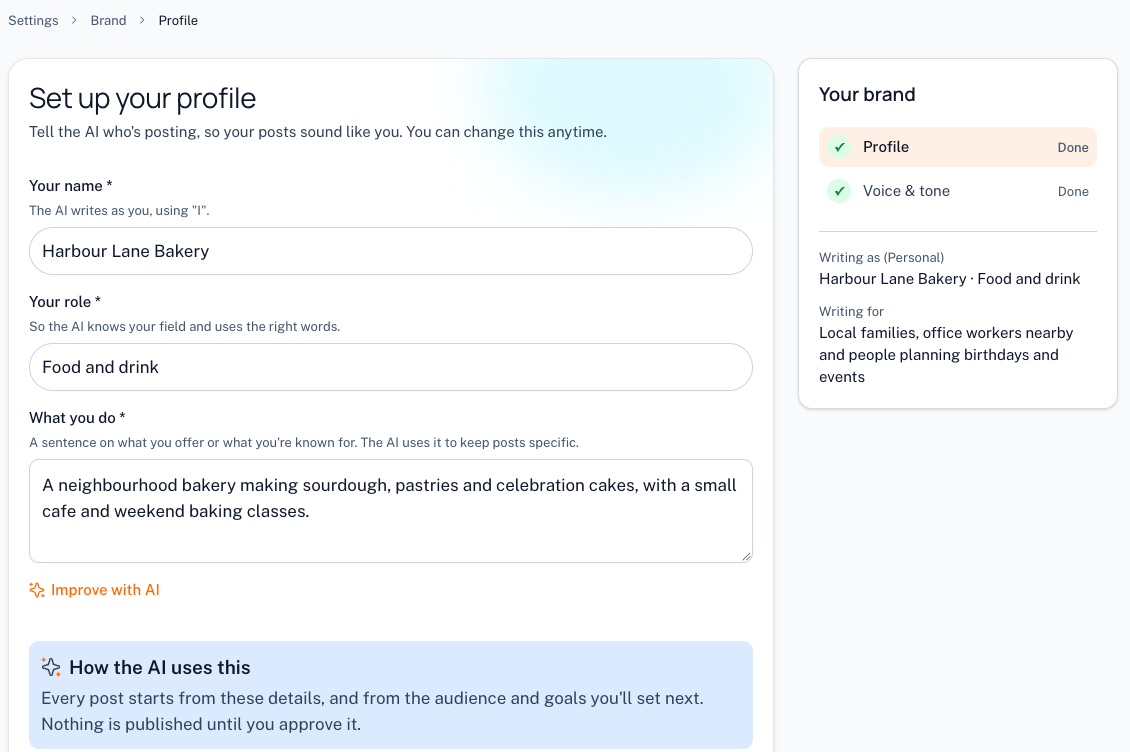
1. Tell NegiFlow about your brand
Select Set up brand, or go to Settings, then Brands. Add what you do, who you want to reach and the topics you post about. NegiFlow uses these details every time it writes for you.
Posting as both yourself and your business? See Brands.
2. Write a post
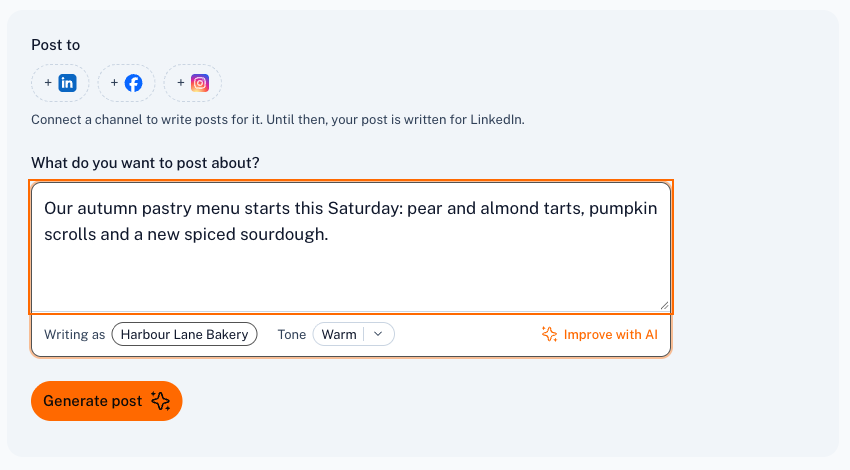
- Select Create post at the top of the side menu.
- Under What do you want to post about?, describe your idea. Stuck? Select Suggest ideas, or tap one of the ideas from your topics.
- If you've written a few words, Improve with AI can sharpen your idea first.
- Pick the channels to write for, from the ones you've connected.
- Select Generate post. NegiFlow writes a version for each channel you picked.
Tip
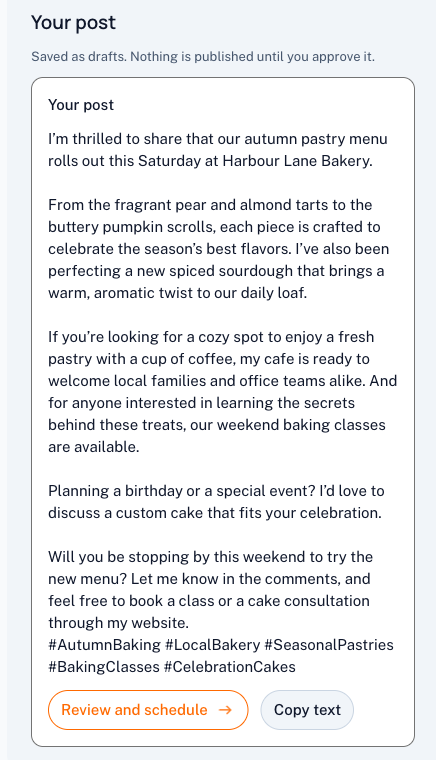
Your posts are saved as drafts, and nothing is published until you approve it.
3. Review and approve
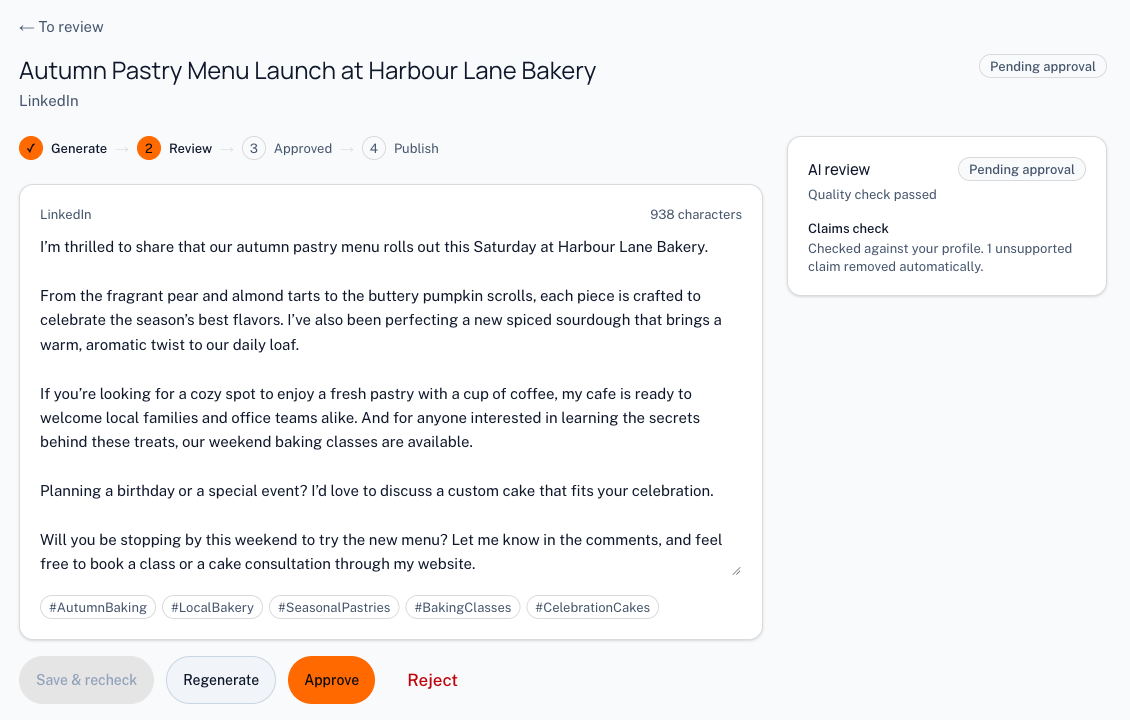
Select Review and schedule under your post, or open Posts, then To review. The AI review panel shows whether the post passed NegiFlow's quality check, and any claims it removed because your brand details don't back them up. Edit anything you'd like to change, and select Approve. Approved posts move to Ready to post.
If you don't like the post, select Regenerate for a new version, or Reject to drop it.
4. Connect a channel
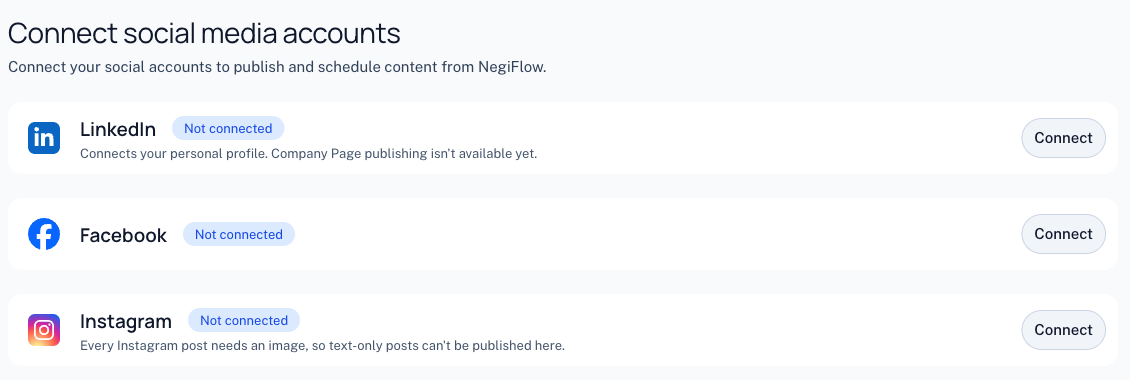
Go to Connectors and connect LinkedIn, Facebook or Instagram. You'll sign in on that site and approve NegiFlow's access. You only need to do this once per account. Each channel has its own guide under Connectors.
Note
5. Publish or schedule
From Ready to post, choose Publish now, then Confirm & publish, to post straight away. Or choose Schedule to pick a day and time. Scheduled posts appear on the Calendar, where you can drag them to a new time.
Note
Next steps
Last updated 25 October 2026